Saturday 30 May 2015

Merry Christmas

Christmas is my absolute favourite time of the year! Ask anyone I know and they can tell you all about my passion for Christmas. My favourite day of the year is the 1st of December, to me this means after a long boring year it is finally time to decorate the house, with all the bells and whistles!

So what better for my first Christmas themed cake then a Christmas decoration I ask you. I had originally seen the idea on Pinterest here on page 19 and thought hey I could do that.

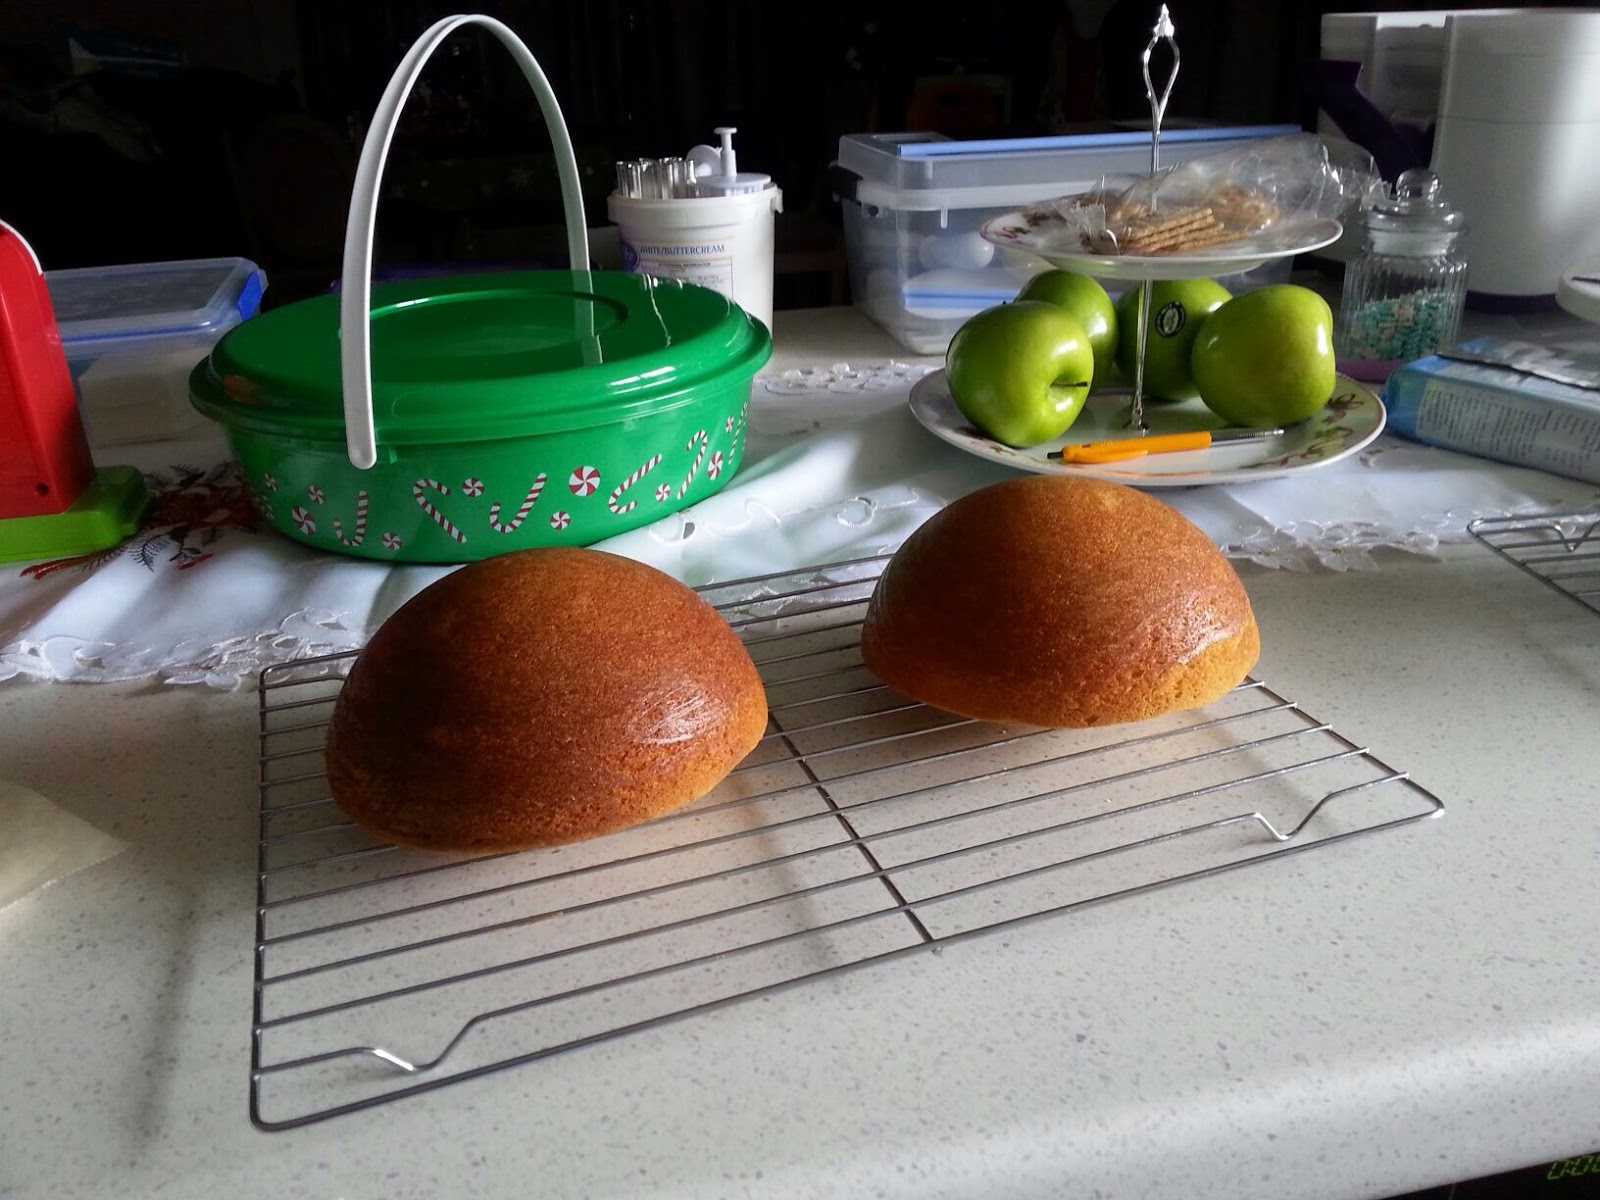
So onto Trade Me to find a Spherical cake pan to make the ball. I just got a cheapie but it worked fantastically. So it comes in 2 halves and 2 wee stands so they can sit on try to bake level.

Here is what it looks like.


I filled up the cake pans not quite to the top as I thought that the cake mixture would rise more than it did, unfortunately it didn't this meant that when I put the 2 halves together it was quite a symmetrical sphere. To "Glue" the 2 halves together I just used a layer of butter cream. Then crumb coated it and placed in the fridge for about an hour before adding the fondant. As you can see in the picture below of the cake crumb coated it's more oval and round but never mind.


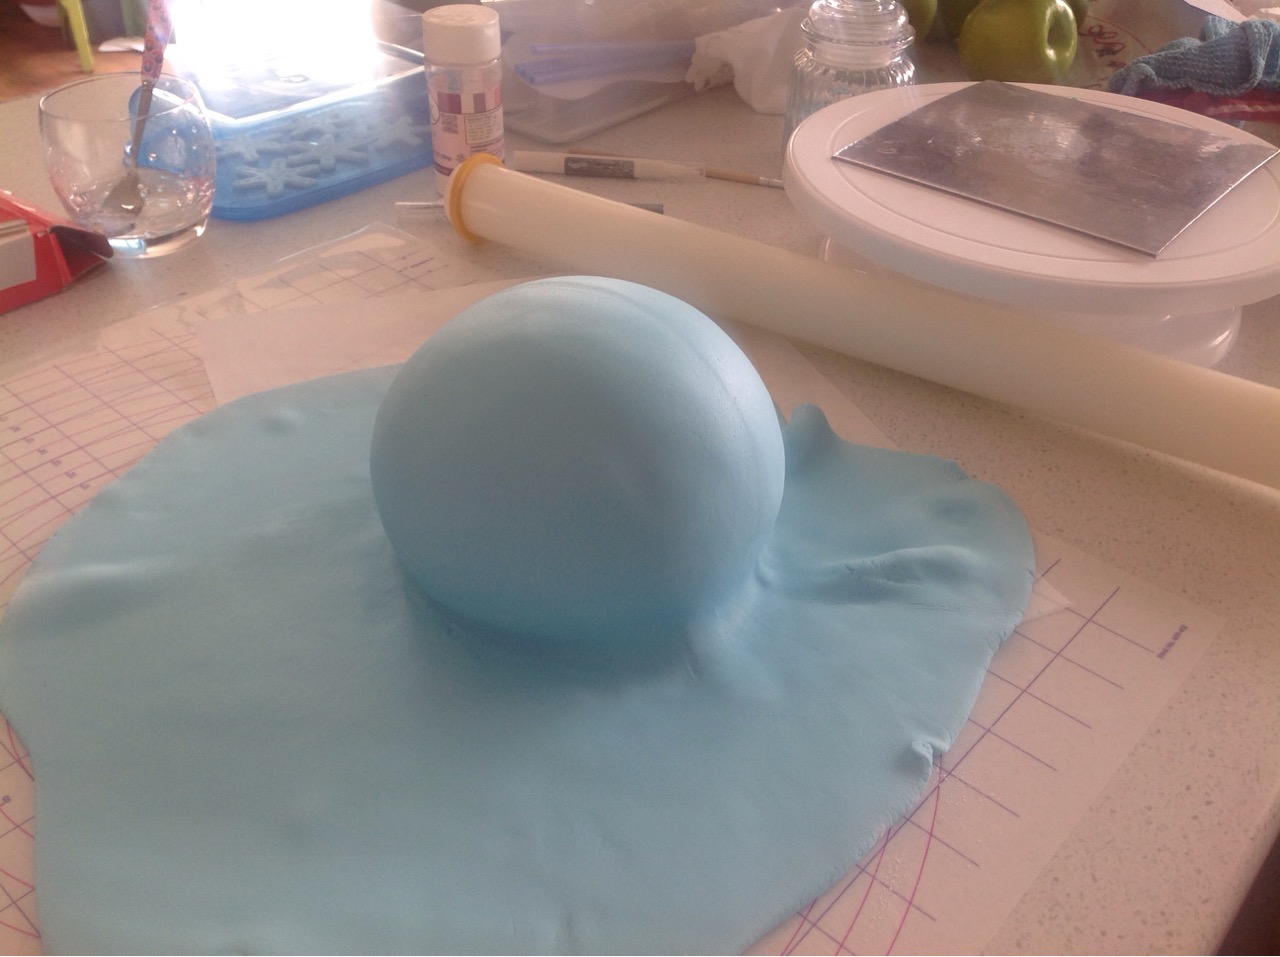
I was really quite nervous about covering this cake in fondant as you have probably previously read I haven't quite mastered the skill, but with every cake I learn something new and improve. I was quite pleasantly surprised at how successful I was with covering this cake. Using corn flour this time to roll out fondant meant that it wasn't too dry so no rips or "Elephant Skin" and smoothing proved very easy with the spherical shape so no folds or bubbles. I smoothed out the fondant just to the base of the so it meant that it wouldn't roll of my cake board. I then just had to cut around the bottom to finish it.


To make the decoration hanger I just shaped some plain white fondant using some Tylose powder to ensure it would harden and to prevent the heavy hanger from falling off cake I used a small cut up cake pop stick, which I always have on hand for my figurines. Then using a mix of bronze powder and Cake Decorator's Fluid I painted the hanger to add a bit of sparkle.


To decorate my Bauble I used a snow flake outline cutter and then used a metal skewer to poke holes in the snow flakes. I tried to make different patterns on each one.


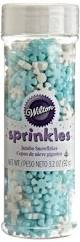
I also had some Wilton Snow Flake Sprinkles, which I got from The Cake Shop Pukekohe while i was up north visiting, I just chose to use the white to match my fondant cut outs.


To attach the fondant cut outs I used an edible glue which I made mixing Tylose Powder and a little bit of water into a paste and the for the sprinkles I used some left over butter cream.


Here is the finished result.


And the perfect place to take my cake you ask, I went to a  Christmas decoration craft night with some family was a lovely bunch of ladies and we were all too busy meeting and catching up that we didn't get around to making the decorations but we had a ball anyway and lots of yummy food to eat.


Saturday 23 May 2015

Happy Birthday Hubby

So my husband and I are obsessed with this show on Discovery called Moonshiners, so much so that we have decided, well when I say we I really mean he, to make his own still and start brewing Moonshine. Luckily this is legal in New Zealand provided it is for your own consumption and you don't try to sell it. This is lucky for us as it means we don't have to hide out in the forest brewing and finding ourselves friends with toothless hillbilly bootleggers named Tickle and Chico.

I have always made him a special themed cake always his favourite Devils Food and generally his latest hobby, yes he is a man and has many hobbies, or something thats going on in our lives. His first cake was covered in Kinder Surprises might seem strange but, earlier that year I had gone into hospital from some surgery and when I came home the first thing he said to me was "I think you should look in the mirror" of course I started off on this big rant "I have just had surgery and just come home so of course I look terrible" and as I glanced over at the mirror he had bought me a new dvd and a giant Kinder Surprise, Since then they have had a rather soft spot in our hearts.
Year two was huge Lego man, year three was an Airplane as I got him flying lessons, year four Snowboarding cake as this was his latest hobby. Year five was an xbox controller, this was one of my favourites.This brings us up to year six and his new hobby Moonshining. I have to say this was one of my most disappointing cakes, such a simple idea but I found it so difficult to translate the ideas in my head onto the fondant getting the right shape. I have since learnt from watching cake shows that I could have sculpted in rice crispy treats and then covered in fondant.

Regardless this was the end result.


Hubby really hates fondant so I used butter cream and piped "Grass" as the cake covering, used wee 1D moonshine jugs made from fondant and my "Still" creation for the top.

The "Still" took me the longest of anything I have done to make as it was modelled, flattened, built up again, torn down and then after giving myself 3 weeks to prep it was suddenly his birthday tomorrow so I had to double the Tylose Powder sculpt and place. The Scale is not quite right and for all you Moonshiners out there, Yes I know the "Worm" should be in the barrel but then you wouldn't see it and after attempting to get the coil just right 3 times it needed to be seen.

Here are the progress pictures. When sculpting or modelling I always work on a polystyrene block so I can push my supports in, whether its toothpicks or cake pop sticks. 


My birthday is next, is it sad to make your own cake?? Probably.

Oh and  an update on our Moonshine, Well the burner, 100L stainless steel mash pot and various bits of copper sit in our shed and garage, along with 20 boxes of lego city, 2 snowboards and and extremely heavy suitcase filled with paintballs guns and accessories.


Happy Easter!

I needed to take a plate to William's play group for Easter and I thought what a good chance to practise my cake decorating. So onto Pinterest searching Easter cakes so many ideas! Saw a few I liked and thought that I could attempt. I decided to take  ideas from a few different cakes.

Challenges for this cake were going to be:
1- Covering cake in fondant, this would be my first attempt.
2- Bunny rabbit figurine.
3- Banner bunting, this was actually extremely easy.

So lets start with the last but easiest challenge Banner Bunting.
To make this I bought some scrapbook alphabet stickers and some paper straws. So easy all I had to do was fold scrapbooking paper to 1/2 inch deep and cut out triangles big enough for size if alphabet stickers. Stick on letters and thread onto some embroidery thread or two toned string use scrapbook adhesive to glue down the two triangles. This keeps them from moving about.
I used a pin to drill holes into tops of straws and then thread through embroidery thread.

Looks like this when finished.


The bunny was a lot easier than I thought but the challenge turned out to be getting the proportions right. Which I am not sure I mastered by hey I'm still learning. I used this tutorial from good old Youtube. As with my Fireman Dave figurine for Williams cake I used Tylose powder to harden the fondant, using some of the tricks I learnt from Artisan Cakes tutorial I made the belly and let it dry for a couple of hours to really harden so that his wee head didn't squash him flat. His ears were the another challenge as they were to be stuck on what I think is upside down, but once it was finished I could see why it was done this way.

And here he is.


My first and  challenge covering the cake was definitely my biggest challenge. I watched at least 10 different videos on how to cover a cake and I felt confident until I was in the middle of doing it. So I ended up with a few folds and rips, using kiwi ingenuity I covered up 😄 with some decorations. I think I went wrong with a couple a things, a) I rolled the fondant too thin. b) I worked it too much and took too long causing it to dry out. And (which I learnt later at a class) c) I smoothed the fondant down rather than up. But making other decorations gave me more practise and covers up wee issues.

The finished product.


Happy Easter William!


The mistake cover up decorations.


It's about now where I find myself thinking, "Who's birthday is next"


How it all started

Well it all started a couple of months before my sons first birthday, sure I had made many cakes before and dabbled with a couple of neat designs but my sons first birthday cake is where my new passion started.

I had done a lot of research for my sons first birthday as you do with your first. I had a couple of different options but decided to go for a fire engine as a wee tribute to my father who has been a firefighter for 25 years.

I had been pinning like mad ideas and different tutorials for fire engine cakes. A couple of the cakes had a few wee firefighters on the side of the cakes and I thought that it would be very cool to have Fire Fighter Grandpa on the cake. I searched every toy store in town, scoured Trade Me and I couldn't find any wee firefighter figurines for sale, so I called around different cake decorating suppliers to see if the made custom figurines. I came across one lady who does them but it was going to be so expensive. I had nearly given when I thought maybe I could try making one.

Next step Youtube. I found heaps of different figurine tutorials but found the Artisan Cake Standing Figure to be the best. I watched it a couple of times wrote down all the tools and ingredients I would need and went shopping. Of course I was so excited to get started I didn't do all the research I should have as to where I could get the items the cheapest so I spent a fortune but now I know all the good spots.

You tube is fantastic! Being able to watch a video, pause, go back pause, start all over again, pause, great for when you are starting and so much easier than someone showing you and you always having to ask them to slow down so you can catch up. I have no idea how many times I watched the clip but it was great.

Here is Fireman Dave (Inspired by Fireman Sam)


I also made a wee Dalmatian, Fire hydrant and a wee fire helmet.


This was the first time I had worked with fondant and I had a ball creating the figure and I learnt so many things and know what to do different next time and how to improve but overall I was pretty happy for my first try.


Now with the cake I hadn't even thought if using fondant as no one in my family likes the taste. So I used a basic butter cream, it was a wet muggy day and Hello trying to tint buttercream to a bright red and not a rosey pink even with paste dyes, so I had so many troubles with the buttercream but it came together in the end and although it was a little rough I know if I try this cake again I will use fondant to get a cleaner finish. It's all about learning and this stage and come on lets face it it was for a first birthday and I am pretty sure my son loved it rough or not.
This was the tutorial I used for the cake, so simple when you think about it.

Here is the finished product


Happy Birthday William!


On to the next cake. What will it be?