
I have been thinking about this cake for months and months possibly even over a year, I even bought some cake dummies to practise on, but the more I thought about it the more I thought that I should probably learn to stack cakes first before I start different ideas on dummies.
A few weeks back I was telling my husband that I wished Make Company (Where I have taken a couple of classes) did a class on stacking cakes I know the basic idea behind staking cakes having doweling supports and such but to be honest I was a little scared to try. Of course my husbands reply was it will be easy I'll help you. I took him up on the offer and had his help and my 2 YO sons as well, I ended up on the outskirts while the boys took over, I got really down as I wasn't happy with the outcome and decided perhaps I wasn't cut out for the whole cake decorating, feeling sorry for myself and blah blah blah. Took me a couple of weeks, but I got over it and decided this time I would just tackle it myself and take my time. I am happy to say I feel like it was a success and I am very happy with the outcome.
Those of you that know me know I am obsessed with buttons and have been a collector for a long time, my kitchen has several jars filled to the brim with buttons, assorted sizes and colours. Again I think its my love for bright colours and patterns that make me obsessed with buttons. This is why I named my blog Button Up Cakes and this is the cake behind the name that I had always wanted to make.
Out came my Wilton Easy Layers pans and also my Wilton Checkerboard pans, although I didn't want to make it checkered I knew the pans would be the easiest option so I didn't have to slice up a cake to make layers. I decided to make a butter cake for the bottom tier and chocolate for the top, I don't make many chocolate cakes, not sure why it's generally just for my husbands birthday and I make devils food for him. This was also a good time to try out chocolate buttercream frosting I had never made this before and didn't have a recipe for it but I used the chocolate icing sugar from the supermarket.


I had just recently had another order from the fabulous The Cake Shop which a couple new toys Wiltons Cake Release which I talked about in my last post and a Little Venice scraper for my crumb coating, I was sure that I had actually bought one before a year or so ago but can't for the life of me remember where it is, and now that I have used it, Wow! I wont use anything ever again it is fantastic for getting sharp edges.

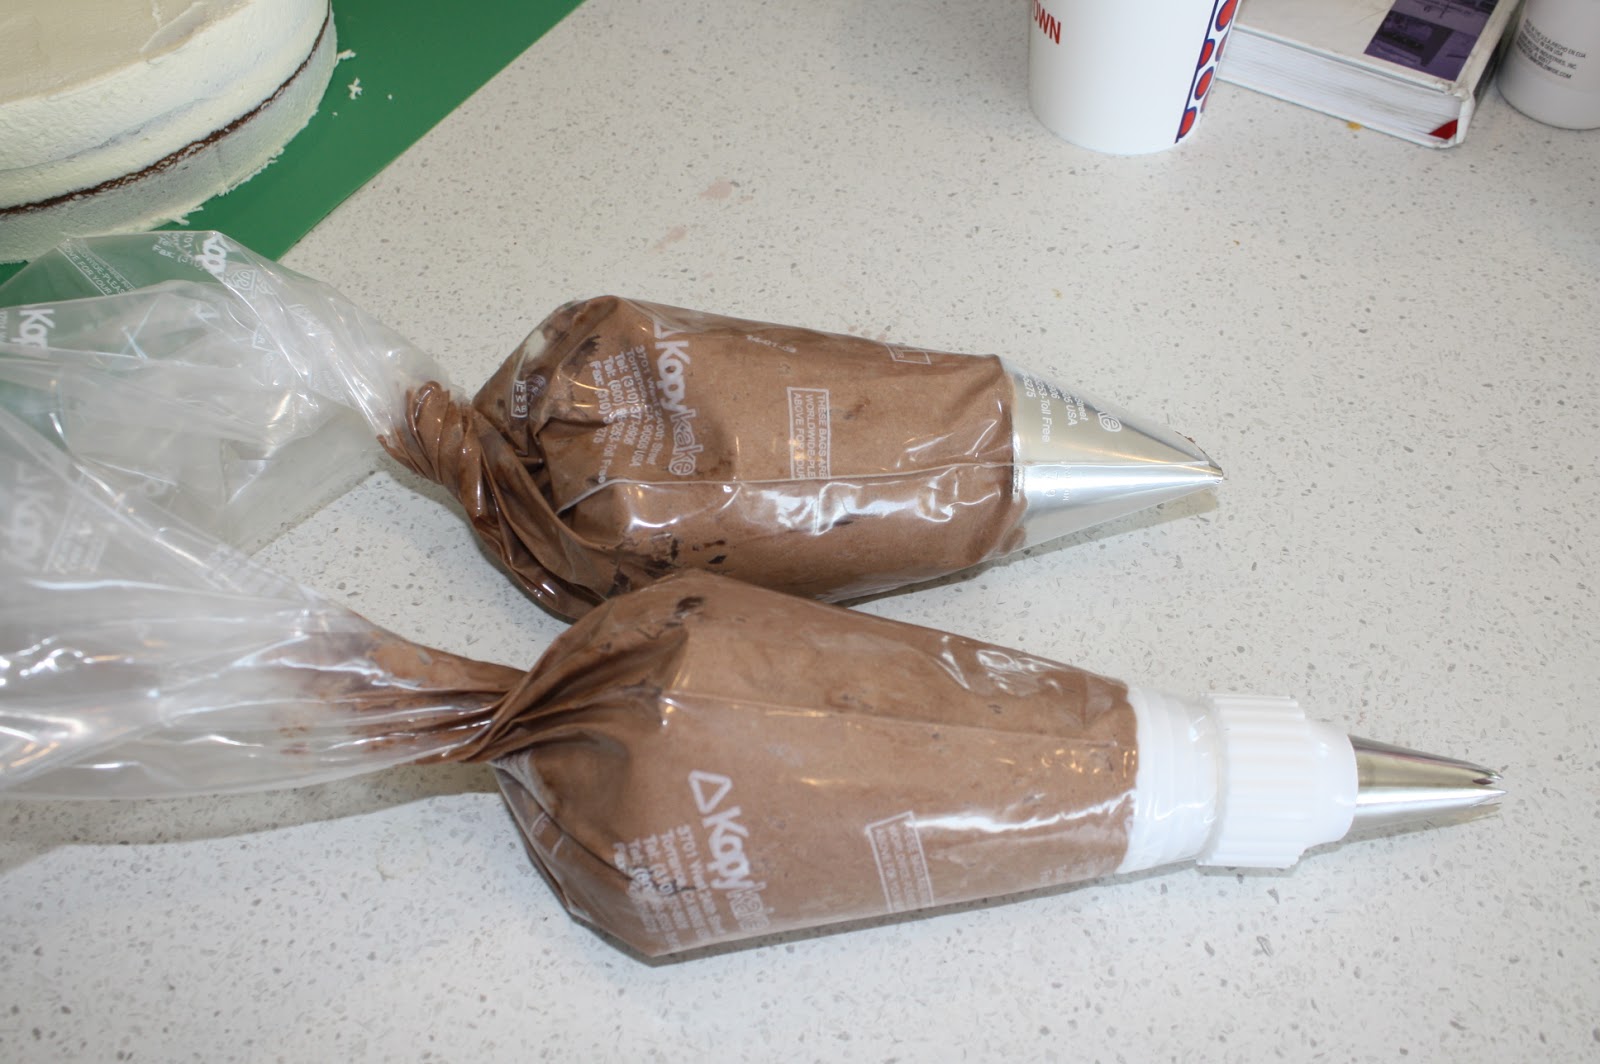
I tried the Wilton 789 Tip for the crumb coating and I feel it was pretty successful. And just look at my sharp edges from my Little Venice scraper.


I put that in the fridge and went to work with my chocolate layers. I used what we call in my house the "Buddy effect" Buddy from The Cake Boss, when he frosts the layers he uses so much icing, icing almost the same thickness as the cake layer, but I wanted to make sure the cake was even and level for to fondant. I really wanted this cake to be level for the stacking.


I rolled out my fondant for the bottom tier and got it on with not too much trouble and I added in my dowels, again I'm not completely confident with stacking cakes and I didn't know exactly how many dowels I would need so I went with the more is better option.


I did this cake over the course of 2 nights and a morning so while my chocolate tiers crumb coating was setting in the fridge I made up my button decorations. I mixed up fondant in my 3 favourite colours (Toned down of course) Pink, Orange and Green and using a silicone mould made with different sized buttons. and put them in the freezer to set, most moulds I think you don't need to do this, but it's a trick I learnt from Martha and it just helps the fondant keep shape while you take it out of the mould.


Don't you just love buttons? I do!
So onto the top tier, I had trouble with this I rolled out some fondant no troubles but when I was smoothing it on the cake it split everywhere at the top and slid down the cake. That was a flop so I walked away and had a break and came back rolled out some fresh fondant, I couldn't get my brain to work trying to figure out should I do, roll it thicker roll it thinner. Argh I decided to roll it a little thicker, I really should have rolled it thinner but my brain went with the thought process that thicker would be stronger, but of course thicker also meant heavier so it did crack in a couple of places, but I was able to work quickly and fix them so it wasn't a total loss.


Using my Wilton cake tape measure and made a couple of small marks just in the where the top tier was going to sit and gently placed it on top. Success.

To tidy up the edges the plan was to place the buttons in a pattern. I am all about symmetry I tend to be a bit OCD about patterns, things matching and in order. So this part was fun for me I measure the cake a trialed the placement first so I knew how many buttons I needed, which in practice didn't actually work out that well so I had to make spaces a little bit larger on the top tier. Then I had a few buttons left which I was going to place on the top, you'll be surprised that the buttons on top are not in an order or symmetrical, but my husband said make them random, and I said like this? Placing them in a straight line totally symmetrical? No throw them in the air he said make them random. I am so glad I listened cause I think it looks great.
Here is the finished product.


My sister who in Pinterest mad and keeps asking me to take photos that are "More Pinnable" and gave me the instructions for making a light box, I haven't gotten around to making this yet, so my daughters white bassinette sheet will have to do.
Here you go Sarah :)


P.S sorry it's not ironed.
Looks awesome Amy! Love the buttons - we should get that vintage mould!
ReplyDeleteYes definitely, was think about getting it next month :-)
DeleteLove it !!!!!! Where's my slice
ReplyDeleteIn my belly!
Delete