

This is my pan set it's a must buy!
Firstly I made up the cake batter and divided it into 5 bowls to colour. After colouring poured into the the wee cake pans and baked, tip remember that you have divided your cake batter so it wont take as long to bake through.


After they came out I did wish I had done purple rather than red so next time I will. While they were cooling I made up buttercream frosting and again divided into batches of 6 all the colours plus white. This is where the Wilton Decorating Bag Holder really would have come in handy. I have these fantastic plastic cups the Kiwi "Longest Drink in Town" which I use to fill my piping bags a great wee trick.


Once the cakes had cooled I stacked them with the white buttercream in between the layers. Time to crumb coat, this was one of my most successful crumb coats I think the buttercream was the perfect consistency and I just had a new long spatula.
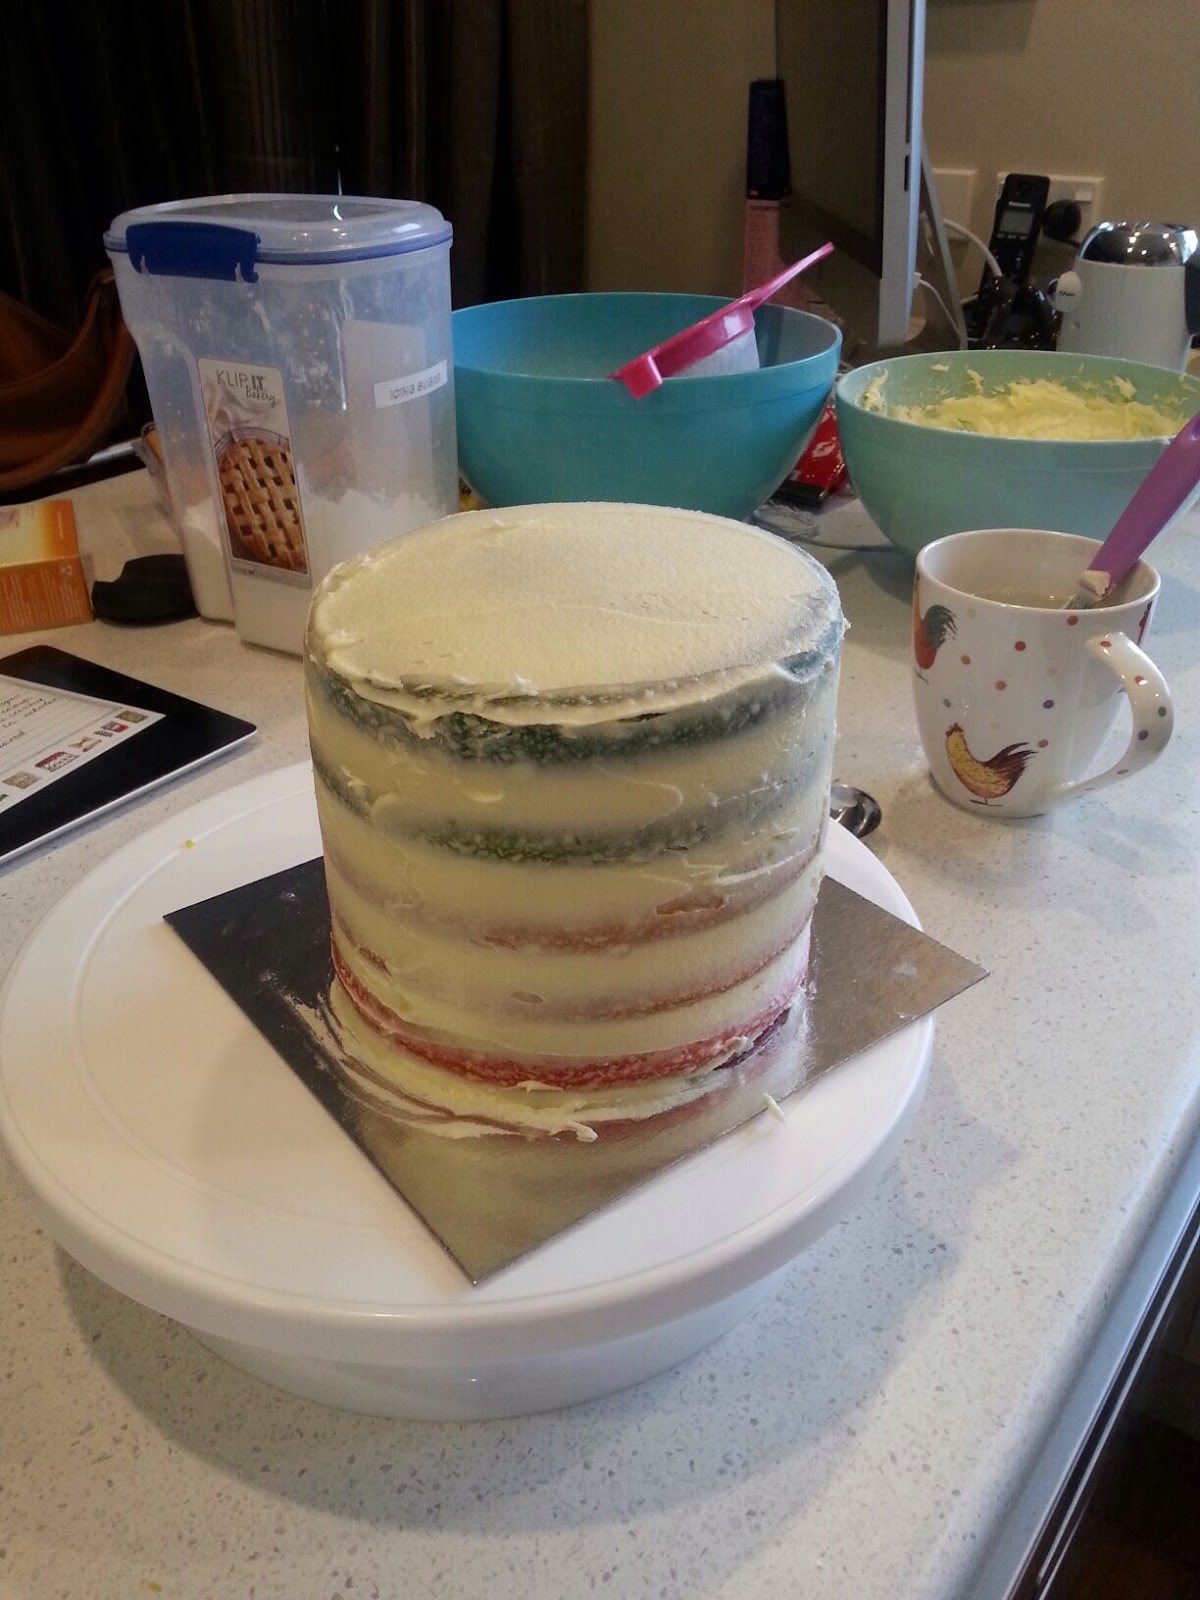
Then I put it in the fridge to set the crumb coating. The coke of can was for scale so it's just a wee cake but you wouldn't want it any bigger because there are so many layers.

For the "Petal" effect you don't really need to have a special tip I just cut a small hole in the bags. You pipe a vertical line of dots. It should look like this.

Then with either a teaspoon or small spatula (I used a spatula) you spread out the icing starting from the centre of the circle. It should look like this.

Then in the middle of your spread you then pipe another vertical line with your next colour and repeat above with all your colours. Once you have used all your colours start again. Continue with this until you have completed the entire surface of the cake.


Next is the top of the cake. I spiralled mine slightly which just made it easier as there wasn't a start and stop on each row. So starting with your first colour 1 dot at a time.


The most exciting part is when you get to cut into it.

There are a few variations of this that you can do, I did 1 colour per vertical line making the rainbow horizontal other cakes I have seen is all your colours in the vertical line, like below, this makes the rainbow vertical. I chose to do the rainbow horizontal because of the height of my cake, if I had had 6 colours I could have done it the other way with the dots still being even.

If really like this way of doing it as for me i see the diagonal pattern the most and I think it is really effective. This I will try next time so stay tuned.
Amazing! So talented! I love the results!
ReplyDeleteThis is such a great resource that you are providing and you give it away for free. I love seeing websites that understand the value of providing a quality resource for free. It is the old what goes around comes around routine. cupcakes tempe arizona
ReplyDelete